
Scratched Lens, It's Ruined...Or Is It?

Scratches/Dust on a Lens
 105268537
Scratched Lens, It's Ruined...Or Is It?
Have you ever worried about getting a scratch on your lens? I have, especially after I bought our first professional grade lens, a Canon 70-200mm. After paying about $1,600 for this complex piece of glass, I wanted to make sure I protected it as best I could, so I wanted to get a filter for it. But which one to get? I asked some of my photography friends and to my surprise got an answer that I did not expect to get. They mostly said not to use one!
I was totally taken aback by that, and then I was worried. how could It not protect the exposed end of an expensive lens?! One of them asked me: “Why would you put cheep glass on top of near perfect glass?” I said: “so that I do not scratch the lens.” My friend tried to reassure me that a good lens hood and normal due diligent would be all that I would need. I searched further, looking on-line and the sentiment was the same...don’t worry (too much).
Recently, one of the podcasts that I listen to Tips From The Top Floor, Chris Marquardt spoke about this because he had just read a blog post and saw something that totally blew him away.
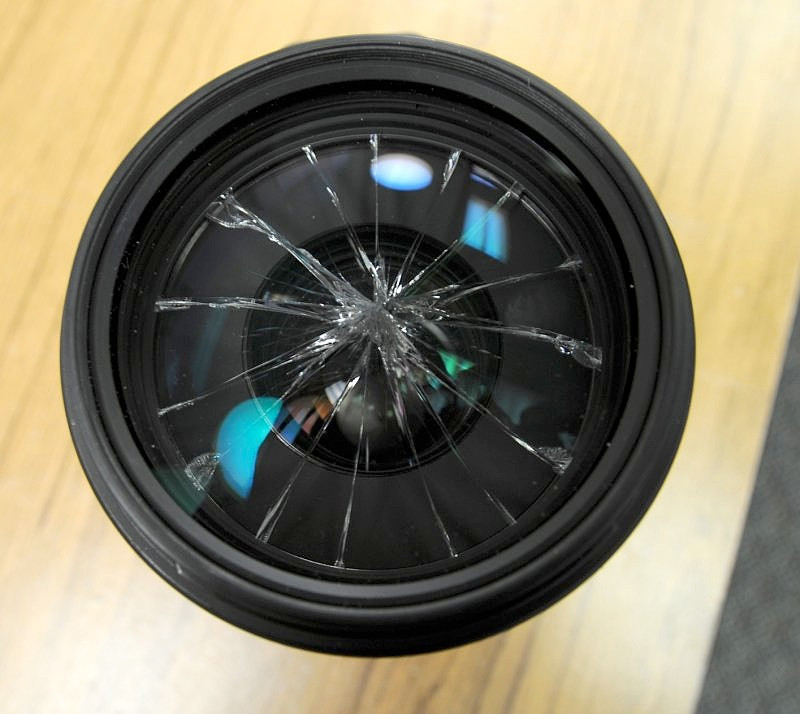
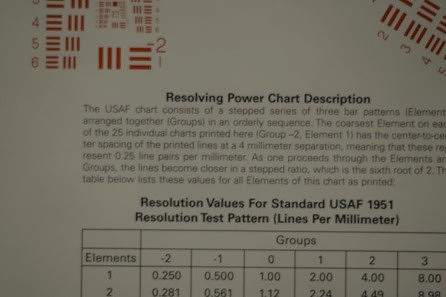
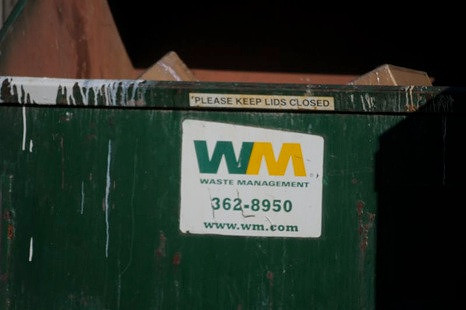
That lens above took the following pictures:
 105268571
 105268561
Here is part of it below (see the link at the bottom for the full story).
We had a chance to make a pretty fun demonstration today, and here it is. As most of you know, we’re very finicky about our gear. We don’t like even tiny scratches on front elements or dust in a lens (although a bit of that is inevitable). We’re like you. We want the lens to look as good as the pictures it takes.
That said, its amazing how much dust or how many scratches a front element can take without significantly impacting image quality. Here are a couple of images taken with a lens with a fairly bad front element. You’ll notice they’re a bit soft and underexposed, but there’s no ‘image’ of the scratch, just like a dust particle can’t make an image on the sensor: the light bends to much through the subsequent elements for the dust or scratch to be visible in the image.
See the complete story and more pictures on the www.lensrentals.com site here. We love renting our gear from them, we highly recommend it!
I just recently saw another blog posting about this same topic where they did some example shots where they took a normal pencil and used a rubber band to affix it to the end of the lens. The before and after pictures were almost identical! The only noticeable difference was the one with the pencil was just a little bit darker! It is similar to taking pictures through a fens, as long as you get right up to it, you don’t see it in the picture.
Now, I worry less about the end of my lens, but I am still very, very, very careful of it, it still cost a lot of money!