
Time Laps Photography

One Shot A Minute
 P6060089
Time Laps Photography
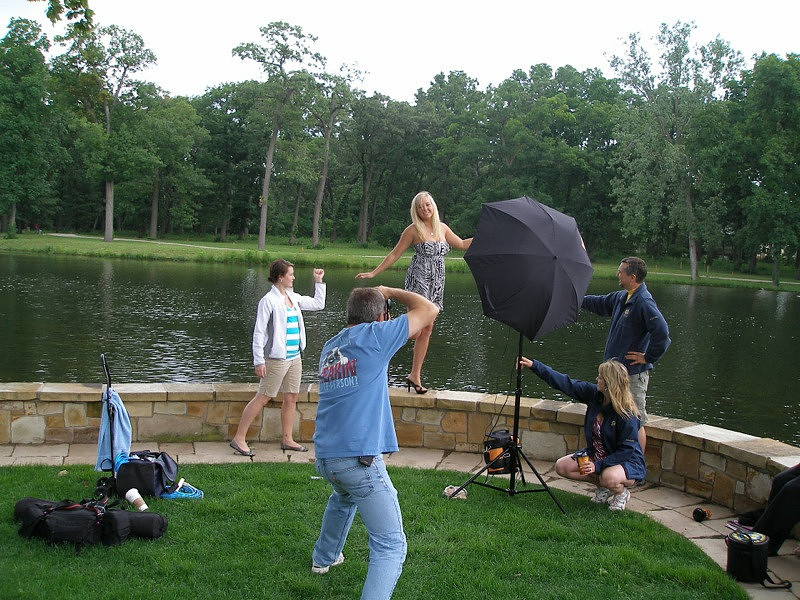
During our photography sessions I have been taking a few shots to document what is going on away from the subject, generally when no one knows I am doing it.
Typically it is of Dawn, Rob or Lesli doing their “thing.”
Documenting them this way has been interesting, and funny, as I tend to take the pictures at the funniest times. It does give us a glimpse as to what happens behind the sense. It also helps us remember how we set up for a given shot.
Recently, I discovered that my little point-and-shoot Olympus SP-320 digital camera would do Time Laps photography. I had to download the PDF of the manual and dig for it, but found out how to set it up. I am still playing with it, but it seems to work quite well.
At our most recent shoot, the Kristine & Samantha shoot, I brought along my 320 and a tripod and set it up behind where i thought we were going to shoot. I configured it so that it would take one picture every minute for 99 pictures. That would give me about an hour and a half worth of time lapse.
Next time I shoot a time lapse, I need to make a mental note of the time I started so that I know when it is finished, otherwise when it stops I won’t have any pictures after that point. That happened a couple of times.
Below are the steps that I took to set up the Olympus SP-320:
1.Turn the camera on.
2.Turn the Mode dial to “My”
3.OK/Menu--> Mode Menu-->Camera-->TimeLaps-->ON-->Set the number of pictures you want form 2 to 99-->Set the Interval from 1 to 99 minutes.
4.Press the OK button until you get back to the blank main screen.
5.Press the shutter button, and the first picture is taken. The pictures thereafter are automatically taken. The lens stays extended, the back of the camera goes dark. There is no indication that the camera is on except for the lens being extended.
6.After the picture is taken the camera enters “sleep mode” and automatically reactivates 4 seconds before the next shot it takes.
7.When the final picture is taken, the camera automatically turns off.
After we returned from our shoot, I imported the pictures from the camera into iPhoto and deleted any of the ones that were bad, none on my first try luckily enough.
The end result of the time lapse is to make a movie out of it, so I searched the web and found the following information on how to turn my still pictures into a movie:
Transforming your time-lapse pictures into a movie doesn’t have to be time consuming thanks to iMovie.
Step 1: Photograph the subject
Mount the camera on the tripod and photograph your subject using either the time-lapse setting on the camera or by manually pushing the shutter button a few times per minute.
Step 2: Import the pictures
Import the pictures by connecting the camera to the Mac with the USB cable or by using a card reader. Use Aperture or iPhoto to import the pictures.
Step 3: Start the project
Go to the Applications folder and open iMovie. Click the plus button at the lower right of the Project Library. Name the project, set the theme to None, and uncheck Automatically Add. Then click Create.
Step 4: Change settings
Change the automatic settings by going to File and clicking Project Properties. Set the transition duration to 1 second and set the initial photo placement to Fit to Frame.
Step 5: Drag photos to project library
Click the button that looks like a camera under the Viewer panel. Select your photos and drag them to the Project Library.
Add music to the movie to make it more interesting by clicking the music button under the Viewer and dragging the song to the Project Library.
Step 6: Export
Export the movie by clicking Share at the top, and click whether you want to export a movie file or publish to a web site.
I Shared mine as YouTube and then uploaded it to the YouTube website and ti worked! Below is the movie: